Summary
Always make a test recording before you start shooting, to check if the audio (and video) are correct.
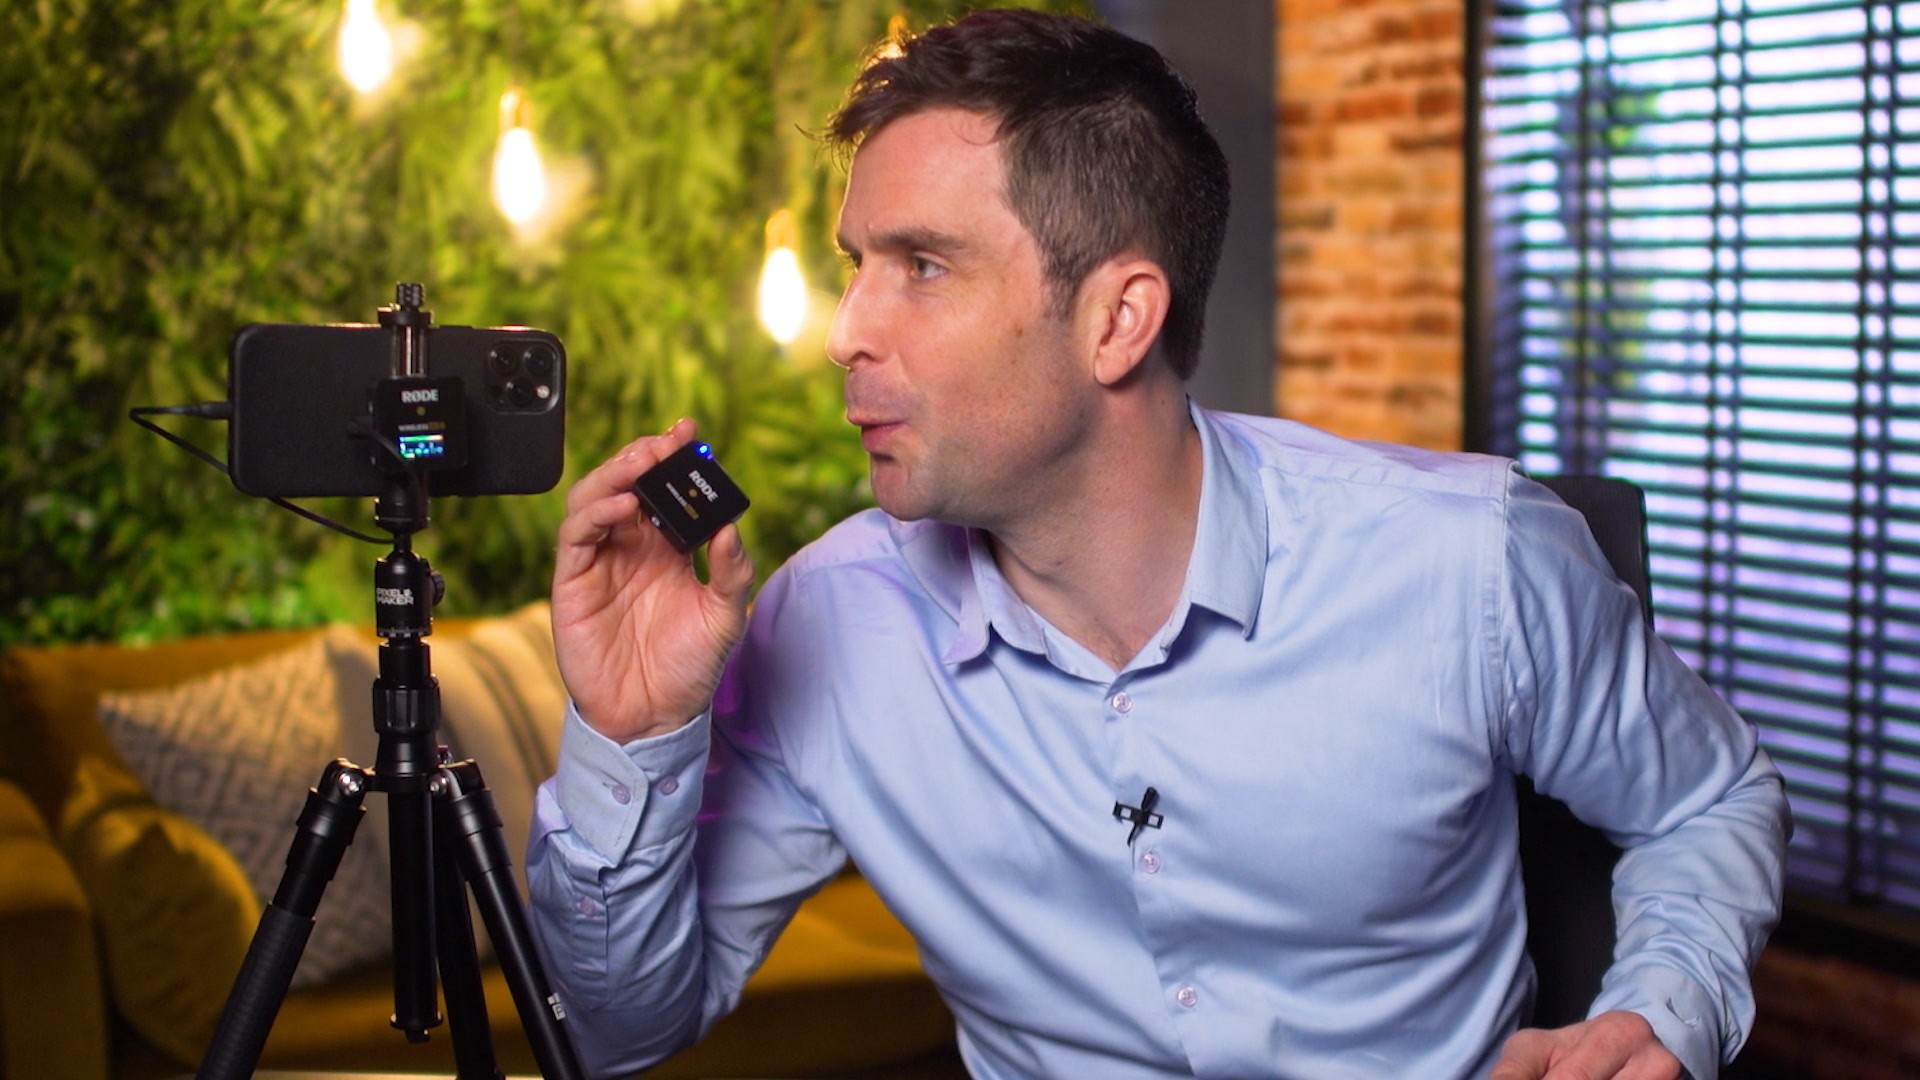
Turning on the microphones
- To turn on the receiver and/or the microphones: press the power button for 3 seconds. You'll see a blue light turn on at the top of your microphone
- Please note: If you press the power button briefly, the mic will mute itself. To unmute, push the button again
- The microphone will automatically connect to the receiver
- To check if they are connected: there should be a moving bar on the screen of the receiver for each of the microphones, that responds to the audio input for each microphone
- You can use either one or both microphones at the same time
Connecting the receiver to the phone
- Find the appropriate cable for your phone (or camera), and plug the cable into the receiver and your phone
- If you have a mini-jack connection, plug the end of the cable with three black rings into your phone, and the plug with two black rings into the receiver
- Make sure you unlock your phone before you start recording. Otherwise, the audio from the microphone will not be used by your phone
Using the microphones as a pin mic
Tip! use the magnets for easy attachment of the microphones and receiver. Simply slide the metal cover on the clip that's on the back, and place the magnet on top. Please note: the magnets are very strong, so some caution is required.
- The microphone works best at 20-30 centimeters from your audio source
- Do not cover the top of the microphone
- Are you filming outside? In order to prevent wind noise, you can attach the 'dead cat' to your microphone. Place the dead cat in the groove around the microphone, and turn it clockwise
Introduction
Using your gadgets

